May 21, 2026
•
7 minute read
How to fix a flat bike tire on the road
You've planned a scenic bike ride, the sun is shining, and you're ready to roll—until a flat tire throws a wrench in your plans.
Jake Fieldsend
Founder & CFO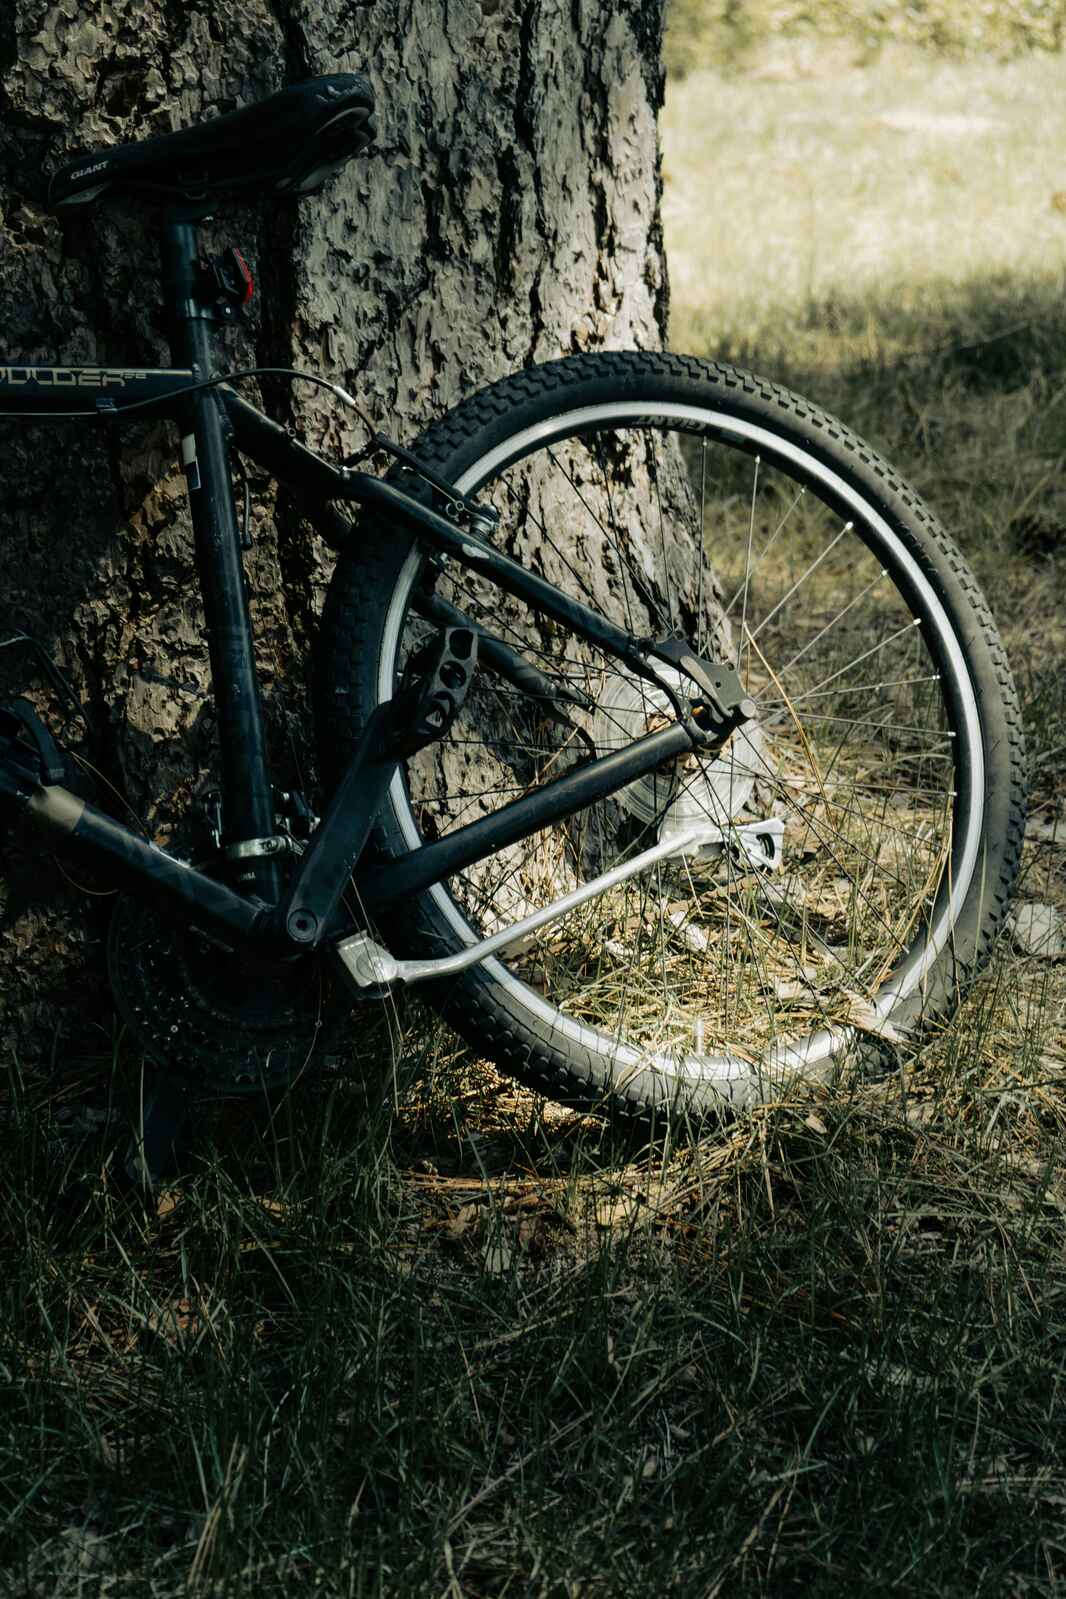
You've planned a scenic bike ride, the sun is shining, and you're ready to roll—until a flat tire throws a wrench in your plans. Now, instead of enjoying the open road, you're stuck pondering the mysteries of punctures. But fear not! With the right tools and knowledge, you can fix that flat in no time, keeping your cycling adventure on track. Let's explore the ins and outs of handling a flat bike tire on the road, so you're always in control, even when the unexpected strikes.
1. Assessing the Damage
1.1 Find the Puncture
When you're miles from home and suddenly feel the telltale wobble of a flat tire, step one is to actually locate where the air's leaking. This sounds simple, but it’s crucial to identify the exact puncture point before launching into repairs. Start by running your hand gently along the tyre’s surface—carefully!—to avoid any sharp objects. Look for nails, glass, or thorns stuck in the rubber. Occasionally, a puncture might be too small to spot right away.
- Listen for a Hiss: If it's a slow leak, you might hear air escaping.
- Submerge in Water: If you're near a water source, submerging the inflated tube can reveal bubbles where air escapes.
Pro-tip: Carry a Spare: If you can't find or fix the puncture quickly, having an extra tube can save you time and effort.
1.2 Check the Tire and Rim
After locating the puncture, it’s essential to inspect both the tyre and the rim for damage. Even if the tyre itself seems okay, the rim might be bent or damaged, which could cause ongoing problems if not addressed. Remove the tyre completely to get a clear view of the inside. Look for any hidden debris inside the tyre that might cause another flat once the patching is complete.
- Feel Inside the Tyre: Run your fingers along the inside to detect any lodged sharp objects.
- Inspect the Rim Tape: Check the tape inside the rim; if it's misaligned or torn, it could cause pinched flats by exposing the inner tube to the spoke holes.
Pro-tip: Use a Portable Light: A small flashlight or bike light can help you spot small issues in low visibility environments.
By taking these steps, you're ensuring that your repair is thorough and that the replacement holds up for the rest of your ride. Confidently identifying and understanding your flat tyre problem means you're already halfway to solving it and getting back on the road.
2. Fixing a Flat Tire with a Repair Kit
2.1 Removing the Wheel
When you're out on a ride and suddenly hit by a flat tire, the first step is to remove the wheel safely. If your bike has a quick-release lever, you're in luck as this system makes wheel removal straightforward. Here's a step-by-step guide:
- Engage the Quick-Release Lever: Open the lever and hold it in an open position.
- Loosen the Brake: For rim brakes, release the brake cable or open the calipers to make space for the tire.
- Detach the Wheel: With the quick-release open, lift the bike frame slightly to detach the wheel. If your bike has thru-axles, you'll need a hex key to unscrew the axle before removing the wheel.
For those with bolt-on hubs, using a 15mm wrench to loosen the nuts and pull the wheel off is essential.
Pro-tip: Always keep a small multi-tool handy that includes wrenches suitable for your axle type. It saves both time and headaches in the event of a puncture.
2.2 Using a Patch Kit
Once the wheel is off, it's time to use your patch kit. This kit typically contains patches, sandpaper or a metal scraper, and adhesive. Here's how to proceed:
- Locate the Puncture: Inflate the tube slightly and feel or listen for air escaping. If necessary, submerge it in water and watch for bubbles.
- Prepare the Surface: Dry the tube and lightly sand the area around the puncture. This roughens the surface to help the patch adhere properly.
- Apply the Adhesive: Dab a small amount of adhesive on the puncture site, ensuring a thin, even layer.
- Affix the Patch: Press the patch over the adhesive-coated area. Hold firmly for a minute to ensure a secure bond.
After the patch is applied, let it set. Then, inflate the tube slightly and check for leaks again.
Pro-tip: Carry self-adhesive patches which eliminate the drying time, making roadside repairs quicker and easier.
2.3 Reattaching the Wheel
With your tire repaired, the next step is reattaching the wheel. Here are some tips to do it right:
- Position the Wheel: Align the wheel with the frame dropouts or forks.
- Secure the Quick Release or Axle: Slide the wheel into position. Close the quick-release lever or tighten the thru-axle/bolt-ons using a wrench.
- Reconnect the Brakes: Ensure the brakes are correctly re-engaged. This is crucial for your safety.
Once the wheel is reattached and brakes are good, check the alignment to avoid the tire rubbing against the frame or brake pads.
Pro-tip: Spin the wheel quickly to ensure it rotates freely without wobbling, a sign everything is secured correctly. Trust your repair, but always test for abnormalities before heading back on your way.
For those seeking local bike repair options, Bikebook can connect you with thousands of expert mechanics, offering convenience and quality. Discover local services to extend your bike's life and avoid repetitive road repairs.
3. When to Seek Professional Help
3.1 Complex Punctures
Sometimes, a flat tyre can result from more complex issues than a simple puncture, making roadside solutions impractical. Complex punctures might involve:
- Multiple punctures: When more than one puncture is spread across the tyre, attempting a roadside repair can be time-consuming and temporary.
- Damage to the rim or tyre wall: Significant impact might cause damage that patching can't fix.
- Valve stem problems: When the valve itself is faulty, a patch won't hold air.
In these cases, take the time to assess whether professional help is necessary. Trying to force a fix might only lead to further damage. In this context, professional mechanics have the tools and expertise needed to address these issues efficiently.
Pro-tip: Carrying a mini electric pump and extra tyre levers could buy some temporary relief until you reach a nearby service.
3.2 Advantages of Using Bikebook for Professional Tire Repair
When you're stranded with a tyre problem that's beyond quick fixes, Bikebook offers an easy solution to find expert help. Our platform is tailored to simplify locating a professional bike service.
- Comprehensive search: Enter your postcode and let Bikebook find the nearest certified mechanics.
- Local support: We connect you with nearby mechanics, supporting individual businesses and ensuring quick assistance.
- Real reviews: Read verified feedback from other cyclists, so you know your bike is in capable hands.
- Free service: Use Bikebook without hidden costs and pick from thousands of qualified bicycle mechanics.
Bikebook's comparison tool lets you choose a mechanic that fits your budget while ensuring quality service. You avoid wasting time and benefit from professional expertise that extends the lifespan of your bike components.
Need expert help with your tyre issues? Explore local mechanics now at Bikebook for efficient and practical solutions.
With the insights provided, you can confidently manage minor road repairs and know when it's best to seek professional help. Remember, keeping a well-stocked repair kit and knowing the limits of quick fixes will ensure safer and smoother rides. Your cycling adventures will be more enjoyable and less interrupted.
Frequently Asked Questions
What to do if a bike tyre popped?
If your bike tyre pops, immediately:
- Stop safely: Avoid riding on a flat tyre to prevent damage.
- Check for damages: Identify the cause—like a sharp object or blowout.
- Apply a temporary fix: Use a patch kit if possible.
- Seek professional help: Contact a nearby mechanic through platforms like Bikebook for repairs.
How to fix a blown out bike tyre?
Fixing a blown-out tyre involves:
- Assess the extent: Discover if the tyre has irreparable damage.
- Use a patch kit: Cover the puncture if it's minor and rideable.
- Consider a boot: Place a tyre boot or make one using a piece of tyre or plastic.
- Visit a mechanic: For extensive damage, professional repair or tyre replacement is recommended.
How do you fix a popped tyre?
To fix a popped tyre:
- Locate the puncture: Inflate slightly to identify it.
- Patch the hole: Use a patch kit to cover the puncture.
- Check compatibility: Ensure the repair holds air by monitoring it.
- Professional aid: Reach out for assistance for persistent problems or if DIY fixes fail.
How to fix a punctured tyre on a bike?
To repair a punctured bike tyre:
- Remove the wheel: Take off the affected wheel for inspection.
- Locate the puncture: Inflate and listen for leaks.
- Prepare the patch site: Clean and dry around the hole.
- Apply the patch: Centre and fix a patch securely over the puncture.
- Test the repair: Inflate fully and ensure the repair holds.


'%3e%3cg id='Final-Copy-2_2_' transform='translate(1275.000000, 200.000000)'%3e%3cpath class='st0' d='M7.4,12.8h6.8l3.1-11.6H7.4C4.2,1.2,1.6,3.8,1.6,7S4.2,12.8,7.4,12.8z'/%3e%3c/g%3e%3c/g%3e%3c/g%3e%3cg id='final---dec.11-2020'%3e%3cg id='_x30_208-our-toggle' transform='translate(-1275.000000, -200.000000)'%3e%3cg id='Final-Copy-2' transform='translate(1275.000000, 200.000000)'%3e%3cpath class='st1' d='M22.6,0H7.4c-3.9,0-7,3.1-7,7s3.1,7,7,7h15.2c3.9,0,7-3.1,7-7S26.4,0,22.6,0z M1.6,7c0-3.2,2.6-5.8,5.8-5.8 h9.9l-3.1,11.6H7.4C4.2,12.8,1.6,10.2,1.6,7z'/%3e%3cpath id='x' class='st2' d='M24.6,4c0.2,0.2,0.2,0.6,0,0.8l0,0L22.5,7l2.2,2.2c0.2,0.2,0.2,0.6,0,0.8c-0.2,0.2-0.6,0.2-0.8,0 l0,0l-2.2-2.2L19.5,10c-0.2,0.2-0.6,0.2-0.8,0c-0.2-0.2-0.2-0.6,0-0.8l0,0L20.8,7l-2.2-2.2c-0.2-0.2-0.2-0.6,0-0.8 c0.2-0.2,0.6-0.2,0.8,0l0,0l2.2,2.2L23.8,4C24,3.8,24.4,3.8,24.6,4z'/%3e%3cpath id='y' class='st3' d='M12.7,4.1c0.2,0.2,0.3,0.6,0.1,0.8l0,0L8.6,9.8C8.5,9.9,8.4,10,8.3,10c-0.2,0.1-0.5,0.1-0.7-0.1l0,0 L5.4,7.7c-0.2-0.2-0.2-0.6,0-0.8c0.2-0.2,0.6-0.2,0.8,0l0,0L8,8.6l3.8-4.5C12,3.9,12.4,3.9,12.7,4.1z'/%3e%3c/g%3e%3c/g%3e%3c/g%3e%3c/g%3e%3c/svg%3e) Your Privacy Choices
Your Privacy Choices