February 19, 2026
•
7 minute read
How to Fix a Bike Chain
You've just embarked on your regular weekend ride when you hear it—a dreaded clunking noise comes from your bike chain.
Jake Fieldsend
Founder & CFO
You've just embarked on your regular weekend ride when you hear it—a dreaded clunking noise comes from your bike chain. The rhythm you so enjoy has been disrupted, and panic sets in. Can you fix it yourself? Or is it time to admit defeat and drag your beloved cycle to a costly repair shop? Fixing a bike chain might sound daunting, but with the right guidance, it can become a manageable task. Let's break down how you can handle this pesky problem yourself and save both time and money. Regularly maintaining your bike chain keeps you pedalling smoothly and can even save you a trip to the local mechanic!
1. Preparing for the Fix
1.1 What You Need
Before you even contemplate fixing your bike chain, make sure you're armed with the essential tools. Allowing yourself a moment to check-off these items means you're prepared for any unexpected hiccup. Here’s a quick list of what you’ll need:
- Chain Tool: Essential for popping out the pin and reconnecting any broken links.
- Gloves: Protect your hands from the inevitable grease and grime.
- Cleaning Rag: Ideal for a quick wipe down of the chain before you get started.
- Lubricant: A good chain lube can make all the difference post-fix.
Picture this: You’ve forgotten your chain tool, and you're halfway through the repair. Not ideal, right? This quick inventory saves you from frustrating delays.
Pro-tip: Keep an extra few links of chain in your repair kit. They're lightweight and will save the day if you need a quick replacement.
1.2 Identifying the Problem
Nothing feels more frustrating than not knowing what to look for. Your chain fell off, but why? Identifying the issue is as fundamental as fixing it. Here's what to scrutinise:
- Broken Links: Inspect if any links are snapped or significantly bent.
- Chain Length: Check if your chain is too loose; it shouldn't sag when supported in a straight line.
- Stiff Links: Feel for any links that aren't bending smoothly; these are the common culprits behind that notorious clunk.
Understanding the problem gives you a targeted approach. No more guessing—just straightforward efficiency as you tackle the repair.
Pro-tip: Spin your cranks backwards while you check. This movement often reveals issues that might be hidden otherwise.
2. Fixing the Bike Chain Step by Step
2.1 Reconnecting a Broken Chain
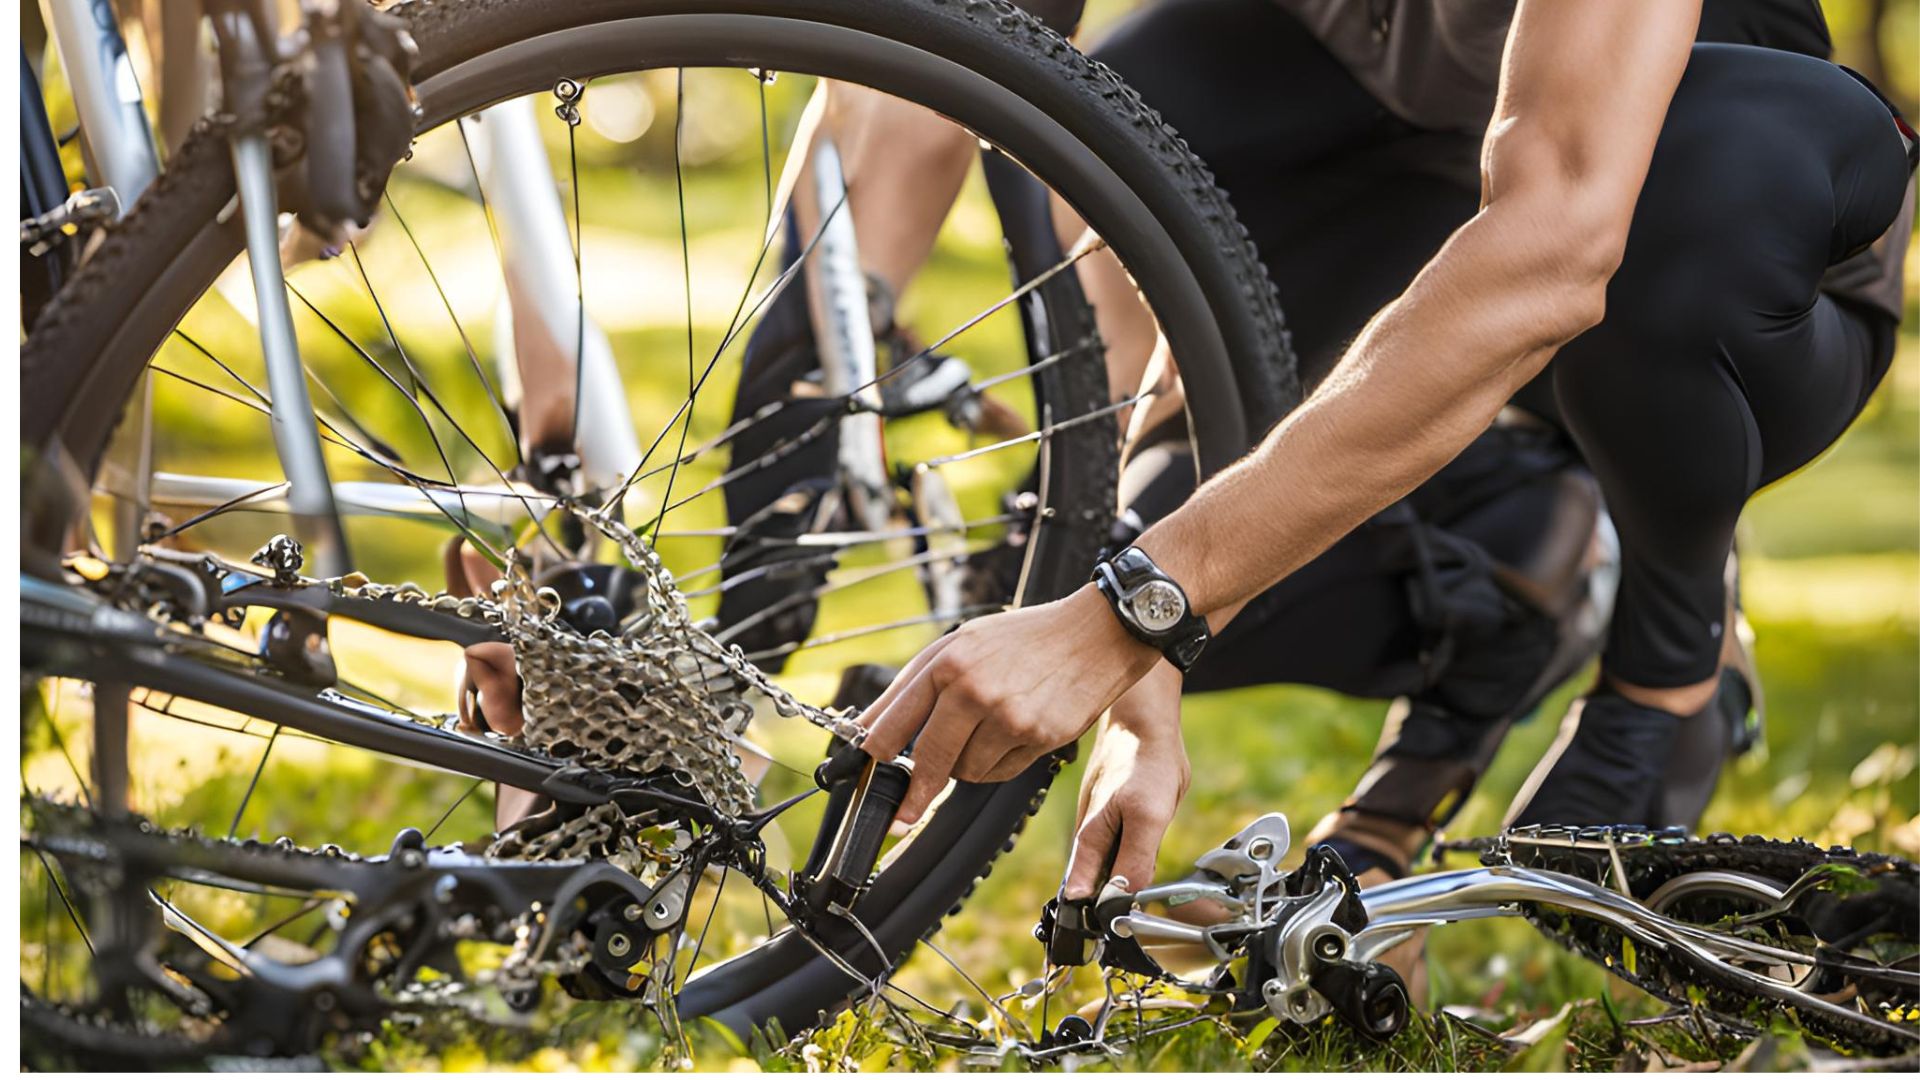
A broken bike chain can interrupt your ride without warning. Knowing how to reconnect it isn't just handy; it can save your day. First, you'll need a chain tool—a simple but critical device that helps push the pin back into place. Here's how to tackle a broken chain:
- Locate the broken link: This is usually where the chain has come apart.
- Prepare the chain tool: Carefully slot the broken link into the tool.
- Push the pin partially out: You want the pin to stay attached to one side of the link.
- Rejoin the chain: Align the chain ends and use the tool to push the pin back into place.
This might seem complex at first, but with a bit of practice, it becomes straightforward. Ensure the pin is secure but still allows the chain to bend smoothly.
Pro-tip: Carry a spare quick link, which can make temporary repairs quicker and easier without needing a tool.
2.2 Tightening a Loose Chain
A loose chain isn't just inefficient but can be hazardous too. It might slip off while riding, which no one wants mid-ride. Here's a quick guide to tightening it without fuss:
- Assess the tension: A good rule of thumb is about half an inch of slack in the chain.
- Adjust the rear wheel: Loosen the nuts on the sides of the rear wheel and pull it back slowly.
- Check the alignment: Ensure the wheel stays centred in the frame.
- Retighten the nuts: Once you've got the tension right, tighten everything back up securely.
Remember, you don't want it too tight—just enough slack for smooth pedalling. Regularly check the tension to keep your ride smooth and your bike in excellent working condition.
Pro-tip: If your bike uses vertical dropouts, consider a chain tensioner to simplify the process of keeping your chain tight and in place.
2.3 Replacing a Damaged Chain
Sometimes, it's beyond repair, and you'll need a new chain. Don't fret; replacing a bike chain is a simple routine you'll master with ease. Here's what to do:
- Choose the right chain: Ensure it's compatible with your bike's speed and type.
- Remove the old chain: Use a chain tool to break the chain and remove it.
- Prepare the new chain: Lay it over the gears to measure and remove excess links.
- Install the new chain: Thread it through the derailleur and gears, then use the tool or quick link to join it.
Getting the right chain length is vital for optimal performance. Always check the manufacturer's specifications or consult your local bike shop if uncertain.
Pro-tip: If you're unsure about installation, Bikebook offers a network of trusted local mechanics who can assist you with professional chain replacement and fitting services, ensuring your bike is ride-ready without hassle.
3. When to Seek Professional Help
3.1 Complex Repairs
Tackling complex bike chain repairs alone sometimes feels like assembling flat-pack furniture without the instructions. Sure, you could take on the challenge, but it's often time-consuming and could lead to further complications. When you encounter problems that involve:
- Bent derailleurs: Ensuring proper alignment requires expertise.
- Twisted chains: Professional tools and skills get it straightened.
- Stubborn chain wear: Needs accurate diagnostics and replacements.
- Internal cabling issues: Cables routed through a frame need special care.
- Comprehensive drivetrain overhaul: Integrating gears, cassette, and chainrings requires precision and experience.
Attempting these without expert knowledge can lead to costly mistakes. Seeking a mechanic who has training and experience in handling such issues saves you time, money, and potential headaches.
Pro-tip: If your bike recently went through heavy wear or you've had a significant accident, consult a specialist to check for unseen harm to your chain and drivetrain that might not be visible at first glance.
3.2 Regular Maintenance with Bikebook
A rigorous maintenance schedule with a professional can prevent breakdowns and extend your bike's lifespan. Relying on ad-hoc fixes when a problem surfaces can be penny-wise but pound-foolish. Instead, include regular maintenance checks in your cycling routine. Here's how:
- Schedule regular tune-ups: Keep those gears, brakes, and chains smooth.
- Identify wear early: Avoid severe damage by catching small issues.
- Join a maintenance programme: Keeps track of all your bike needs.
- Ensure compatibility changes: When replacing components, make sure the new parts fit perfectly.
- Peace of mind: Knowing your bike is looked after by pros lets you ride without worry.
Using platforms like Bikebook simplifies finding reliable and trustworthy mechanics in your local area, making sure you're not cycling on borrowed time.
Pro-tip: For riders who frequently hit the road, creating a calendar reminder for quarterly check-ups helps stay on top of bike maintenance needs.
In conclusion, understanding when it’s best to turn to professionals for bike chain repairs can be a game-changer for avid cyclists. Complex issues should never be left to chance, as they can lead to more serious damage and safety hazards. Likewise, regular servicing ultimately saves both money and time by catching minor issues early. To ensure your bike stays in peak condition, consider connecting with a reliable mechanic who can provide expert advice and superior maintenance services.
Want to effortlessly connect with local mechanics that deliver top-notch service at fair prices? Visit Bikebook to find the perfect match for your repair needs.
Frequently Asked Questions
How do you reattach a bike chain?
To reattach a bike chain, align the disconnected ends on the smallest rear sprocket. Use a chain tool to join the links securely. Ensure it aligns well across the drivetrain before riding. Adjusting the chain length might be necessary if you've changed components.
Is a bike chain easy to fix?
Fixing a bike chain is quite straightforward with the right tools. Basic repairs like reattaching or tightening are doable. However, diagnosing wear or internal breaks might require advanced skills or professional assistance to avoid future trouble.
What to do if a bike chain falls off?
If your bike chain falls off, shift it back onto the chainring. Shift to the lowest gear to create slack, allowing you to guide it with less resistance. Spin the pedals gently to ensure it's sitting correctly across the cog and chainring.
Can you reconnect a bike chain?
Yes, you can reconnect a bike chain using a chain tool to push the pin back or replacing it with a master link. This process needs precise alignment and may require removal of certain links if the chain has broken or stretched significantly.


