June 15, 2025
•
8 minutos de lectura
How to Fix a Popped Tire on a Bike
You've finally set out on your long-anticipated biking adventure when — pop! — your tire betrays you. It’s a scenario no cyclist looks forward to, but being prepared can transform this setback into nothing more than a temporary bump in the road
Jake Fieldsend
Founder & CFO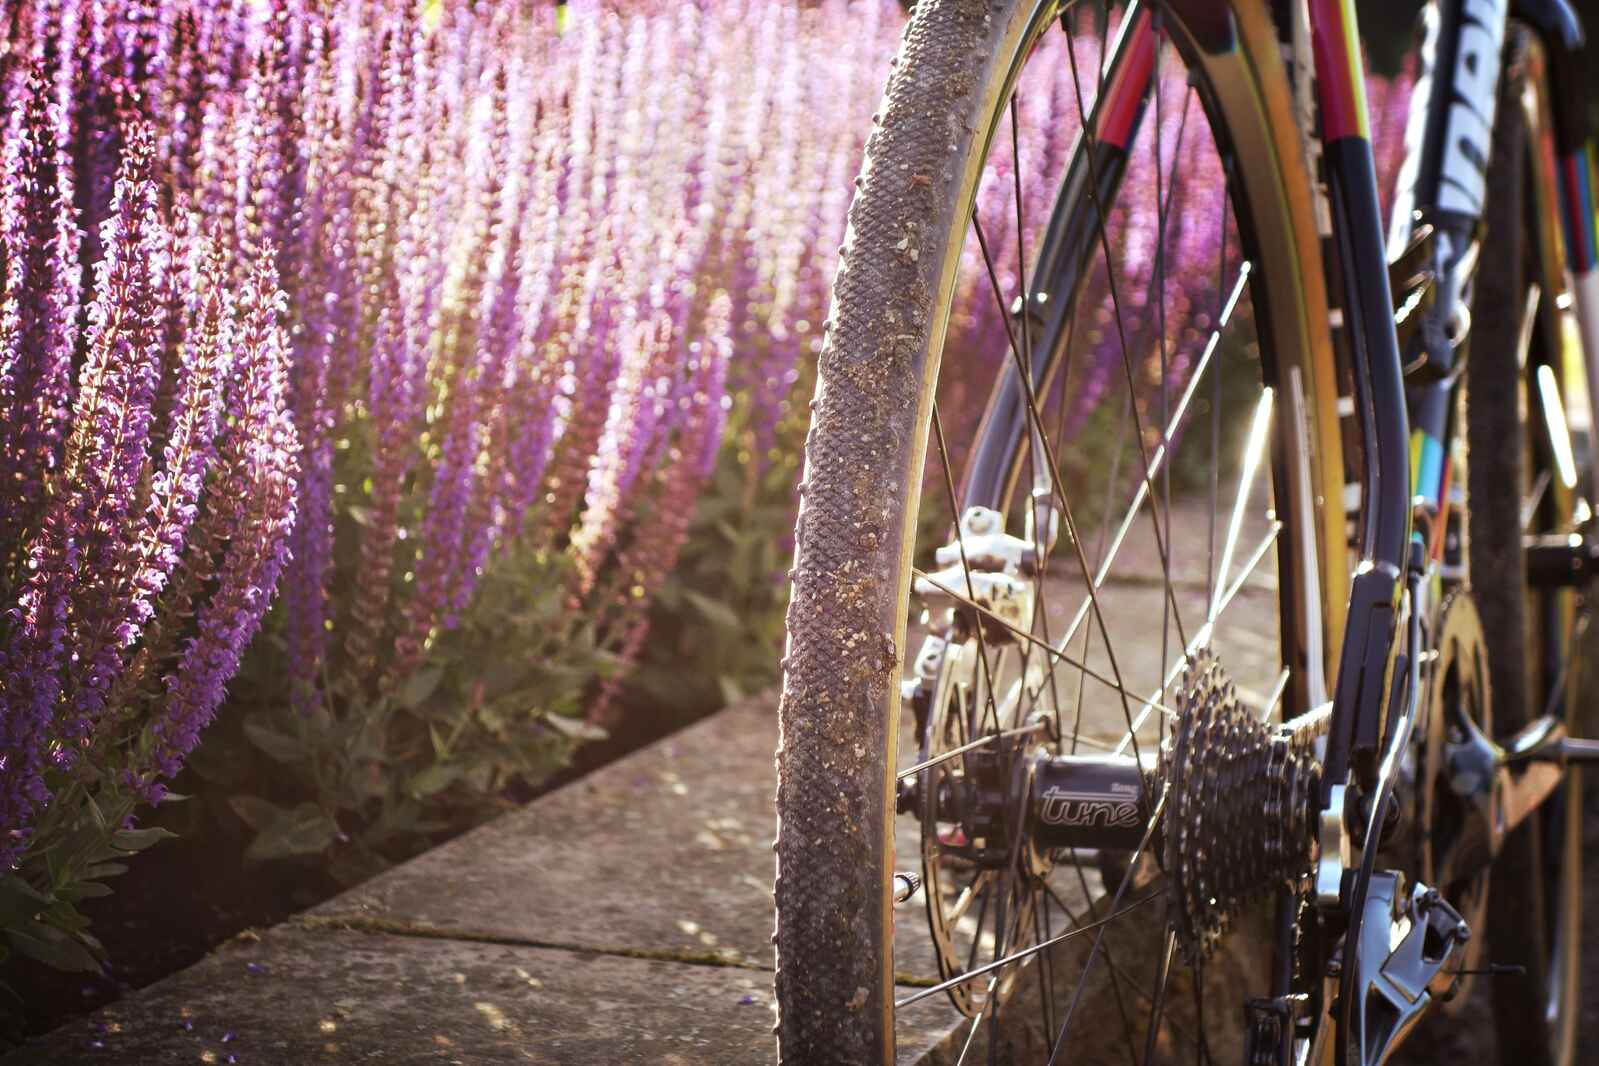
You've finally set out on your long-anticipated biking adventure when — pop! — your tire betrays you. It’s a scenario no cyclist looks forward to, but being prepared can transform this setback into nothing more than a temporary bump in the road. Understanding how to fix a popped tire on a bike is a vital skill for any cyclist, whether you're commuting in the city or tackling rugged mountain trails. Let's explore the causes of this common issue and how you can fix it to ensure you're back on the road in no time.
1. Understanding the Problem
1.1 What Causes a Popped Tire?
A popped tire can be a frustrating interruption, but knowing the common culprits can help you avoid them in the future. Sharp objects like glass, nails, and thorns frequently punch through rubber when you least expect it. Incorrect tire pressure is another significant factor; too high and your inner tube could burst, too low and sharp edges can pinch the tube against the rim.
Determining the cause is crucial for effective prevention. Check your tires regularly for embedded debris and ensure your pressure is within the manufacturer's recommended range. Here are other common causes:
- Wear and Tear: Older tires suffer from thinning, making them more susceptible.
- Faulty Valves: Undetected valve damage can slowly deflate a tire.
Pro-tip: A quick inflation check before each ride can save you from a roadside repair.
1.2 Types of Punctures
Not all punctures are created equal. Punctures fall into categories based on their causes, and each requires a different approach to fix. A penetrating puncture results from sharp objects poking through the tire. Pinch flats, on the other hand, occur when the tire gets pinched against the rim, characterised by two small holes akin to snake bites.
To identify the type of puncture, you need to inspect:
- The Tube's Appearance: Small cuts versus dual holes suggest different issues.
- Tire's Surface: Look for foreign objects still lodged in the tire.
Familiarising yourself with these puncture types not only helps in prompt diagnosis but also informs better preventive measures. Knowledge is power—understanding what you’re up against can make all the difference in the longevity of your cycling experience.
Pro-tip: Carry a small magnifying glass on longer rides to easily spot puncture types on the roadside.
2. Step-by-Step Guide to Fixing a Popped Tire
2.1 Removing the Wheel
To get started with fixing a popped tire, you'll first need to remove the wheel from your bike. Make sure you have a suitable space to work in; a clean, open area will help you keep track of all parts and tools.
Here's how you can remove the wheel:
- Position your bike upside-down: It provides easy access and stability. Secure it to avoid any movement.
- Release the brakes: If you have rim brakes, disengage them to create enough space for the wheel to be removed. For disc brakes, this step isn't necessary.
- Loosen the wheel nuts: Use a spanner to turn counter-clockwise until loose. For quick release levers, simply open the lever.
- Lift the wheel out of the frame: Wiggle it free from the bike, ensuring the chain is clear for the rear wheel.
Pro-tip: If you're dealing with a dirty chain, covering it with an old rag can help keep everything clean while you're working.
2.2 Locating and Patching the Puncture
With the wheel removed, it's time to locate and patch the puncture. To fix the inner tube, you need to first identify where it’s damaged.
Here's how you can do it efficiently:
- Inspect the tire: Look and feel for any obvious damage or sharp objects lodged in the tire.
- Submerge the tube in water: Inflate the tube slightly and submerge it in a bowl of water to spot where bubbles form.
- Mark the location: Use chalk or a marker to outline the punctured area.
- Patch the puncture: Dry the area. Sand it lightly to create a rough surface. Apply rubber solution, wait until it's tacky, then firmly place the patch over the puncture.
Pro-tip: Always carry a small tube repair kit for road emergencies. It's a cyclist's best friend for unexpected punctures.
2.3 Replacing the Inner Tube
If the puncture is too severe, you might need to replace the inner tube entirely. Keeping spare tubes in your repair kit is always a good idea.
Here’s a step-by-step replacement process:
- Remove the old tube: Let out any remaining air and gently pull the tube out of the tire bead.
- Check the tire casing: Ensure no sharp objects remain in the tire. This prevents repeat punctures.
- Partially inflate the new tube: This helps it hold shape, making it easier to install.
- Insert the new tube: Start by inserting the valve into the rim, then carefully fit the rest of the tube inside the tire.
- Seat the tire bead: Push the tire bead back onto the rim carefully, ensuring the tube isn’t pinched.
Pro-tip: When seating the bead, finish at the valve area to easily spot any pinching issues.
2.4 Putting the Wheel Back On
Finally, you’ll want to reattach the wheel securely to ensure a smooth ride once more.
Here’s how to put it all back together:
- Align the wheel: Guide the wheel back into the dropout and ensure it’s centred.
- Tighten the wheel nuts or quick release: For nuts, turn clockwise until secure. For quick release, close the lever until it’s snug.
- Re-engage the brakes: Reattach the brake cable if disengaged earlier.
- Check alignment: Spin the wheel to make sure it turns freely without rubbing against the brakes.
Pro-tip: After reassembly, do a quick test ride in a safe area to ensure everything feels right before longer rides.
Remember, while doing your repairs, protecting the bike frame from tools can prevent scratches. Using a platform like Bikebook, you can quickly find reliable mechanics if you run into trouble and need expert assistance.
3. When to Seek Professional Help
3.1 Complex Punctures
When you're dealing with a puncture that seems more than a simple fix, it's important to consider professional assistance. Signs of a complex puncture could include:
- Multiple punctures on a single tyre
- Damage to the tyre's sidewall
- Inability to locate the puncture
Handling these issues without the right expertise can exacerbate the problem. Therefore, a visit to the local bike mechanic can be a safer option and ensure your bike is in the best possible condition for your rides.
Sometimes, even after multiple attempts, you might find that the tyre still doesn’t hold air. This persistent problem could indicate a more significant issue with the wheel structure, such as a cracked rim. Attempting to fix these problems at home without the correct tools and expertise can lead to further damage. It's always wise to seek professional insights in these scenarios.
3.2 Benefits of Professional Bike Services with Bikebook
Bikebook provides a comprehensive platform to connect cyclists with local professional mechanics, offering significant advantages:
- Access thousands of local bike mechanics in one place
- Compare services, prices, and read real reviews from fellow cyclists
- Free-to-use platform with no hidden fees
- Supports local mechanics, avoiding impersonal national chains
By utilising Bikebook, you find a trustworthy service, potentially saving both money and unnecessary hassle. This resource ensures a hassle-free experience when you need it most, particularly if you're facing complex tyre issues that exceed DIY capabilities.
3.3 Finding a Local Mechanic Using Bikebook
Bikebook makes it straightforward to find a reliable bike mechanic near you. Here's how the process works:
- Search: Input your postcode to view available bike services.
- Contact: Pick a mechanic and book your service needs.
- Delivery: Arrange for your bike to be serviced on the agreed date.
The user-friendly interface offers the ease of comparing local mechanics based on input criteria. Instead of wading through countless web pages, Bikebook places all options in one spot, making it simple to choose the perfect service for your needs.
In conclusion, while fixing a popped tyre on your own can often be straightforward, there are times when professional help is more appropriate. For intricate punctures or persistent problems, connecting with local experts through platforms like Bikebook could offer peace of mind and effective solutions. You not only get your bike back in top shape but also contribute to supporting local bicycle mechanics in your community.
Frequently Asked Questions
What to do if a bike tire popped?
Inspect your tyre for obvious punctures and foreign objects. If it's repairable, remove the wheel, patch the puncture, or replace the inner tube. If unsure about the damage, consult a local mechanic for advice.
How to fix a blown out bike tire?
To fix a blown tyre:
- Remove the wheel.
- Identify the blowout location.
- Patch the hole or replace the inner tube.
- Reassemble and inflate the tyre. If severe, visit a professional.
How do you fix a popped tyre?
- Remove the affected wheel and tyre.
- Locate the puncture.
- Patch the hole or install a new inner tube.
- Reassemble the tyre onto the rim.
- Inflate and check for further leaks.
Can I ride a bike with a popped tire?
Riding with a popped tyre is unsafe and can damage your wheel. Always repair or replace the tyre before riding.

'%3e%3cg id='Final-Copy-2_2_' transform='translate(1275.000000, 200.000000)'%3e%3cpath class='st0' d='M7.4,12.8h6.8l3.1-11.6H7.4C4.2,1.2,1.6,3.8,1.6,7S4.2,12.8,7.4,12.8z'/%3e%3c/g%3e%3c/g%3e%3c/g%3e%3cg id='final---dec.11-2020'%3e%3cg id='_x30_208-our-toggle' transform='translate(-1275.000000, -200.000000)'%3e%3cg id='Final-Copy-2' transform='translate(1275.000000, 200.000000)'%3e%3cpath class='st1' d='M22.6,0H7.4c-3.9,0-7,3.1-7,7s3.1,7,7,7h15.2c3.9,0,7-3.1,7-7S26.4,0,22.6,0z M1.6,7c0-3.2,2.6-5.8,5.8-5.8 h9.9l-3.1,11.6H7.4C4.2,12.8,1.6,10.2,1.6,7z'/%3e%3cpath id='x' class='st2' d='M24.6,4c0.2,0.2,0.2,0.6,0,0.8l0,0L22.5,7l2.2,2.2c0.2,0.2,0.2,0.6,0,0.8c-0.2,0.2-0.6,0.2-0.8,0 l0,0l-2.2-2.2L19.5,10c-0.2,0.2-0.6,0.2-0.8,0c-0.2-0.2-0.2-0.6,0-0.8l0,0L20.8,7l-2.2-2.2c-0.2-0.2-0.2-0.6,0-0.8 c0.2-0.2,0.6-0.2,0.8,0l0,0l2.2,2.2L23.8,4C24,3.8,24.4,3.8,24.6,4z'/%3e%3cpath id='y' class='st3' d='M12.7,4.1c0.2,0.2,0.3,0.6,0.1,0.8l0,0L8.6,9.8C8.5,9.9,8.4,10,8.3,10c-0.2,0.1-0.5,0.1-0.7-0.1l0,0 L5.4,7.7c-0.2-0.2-0.2-0.6,0-0.8c0.2-0.2,0.6-0.2,0.8,0l0,0L8,8.6l3.8-4.5C12,3.9,12.4,3.9,12.7,4.1z'/%3e%3c/g%3e%3c/g%3e%3c/g%3e%3c/g%3e%3c/svg%3e) Your Privacy Choices
Your Privacy Choices