November 4, 2025
•
9 minuutin lukuaika
How to Fix a Flat Tyre in 5 Minutes
You've just set out on a pleasant cycle ride, the breeze in your hair, and suddenly, disaster strikes—a flat tyre. It's every cyclist's nightmare.
Jake Fieldsend
Founder & CFO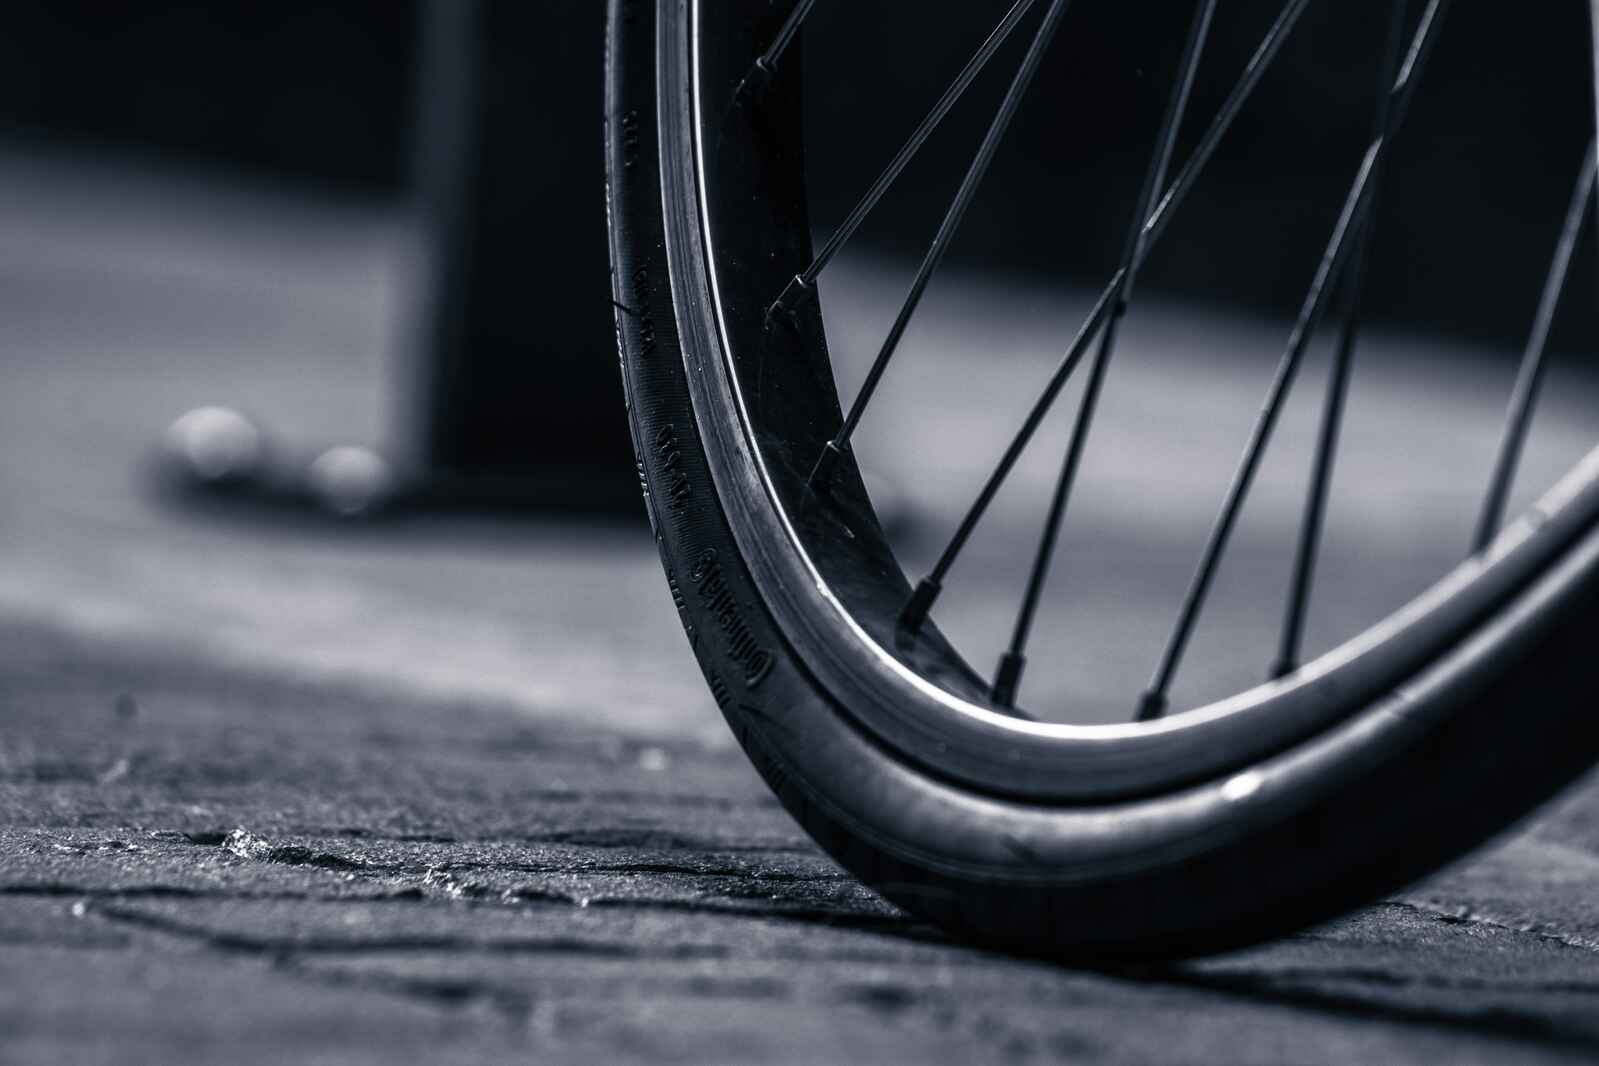
You've just set out on a pleasant cycle ride, the breeze in your hair, and suddenly, disaster strikes—a flat tyre. It's every cyclist's nightmare. Don't let this ruin your day. Understanding how to fix a flat tyre efficiently can save your cycling adventure. This step-by-step guide will arm you with the skills to resolve this common issue in just 5 minutes, helping you get back on the road swiftly and confidently. Whether you're an experienced cyclist or a complete novice, these practical insights are tailored to guide you through the ordeal of unexpected punctures.
1. Assessing the Situation Quickly
1.1 Is It a Front or Rear Tyre?
The first step in fixing a flat tyre is determining whether it's the front or rear tyre that’s affected. Front tyres are generally easier to remove and fix compared to the rear tyre, which connects to the bike chain and gears. Knowing which tyre is flat helps in preparation for the next steps.
If it’s the front tyre, you’re in luck—it’s often as simple as removing the quick-release lever or axle nuts. On the other hand, the rear tyre requires extra care as the derailleur system can complicate things. Ensure you lay the bike on its side to avoid damaging components.
Pro-Tip: Always remove any gear from the back pocket and place the seat gently on a clean patch rather than the drivetrain side to prevent unnecessary grime build-up.
1.2 Identifying the Cause of the Puncture
Once you know which tyre is flat, the next task is to identify the culprit. The most common causes include:
- Sharp objects like glass or nails
- Pinched tubes, a.k.a. "snake bites"
- Worn-out or overly-inflated tyres
Gently run your fingers around the inside of the tyre and feel for any sharp objects. Careful! You don’t want another hole, this time in your finger! Plus, inspect the tyre's surface for cuts or visible objects.
Pro-Tip: Always carry a small LED torch—it’s handy for finding tiny, embedded objects that could be the cause.
1.3 Checking for Any Additional Damage
Before you get down to repairing the tyre, a thorough look for additional damage is crucial:
- Check the rim: Make sure it’s not bent or cracked.
- Examine the tube: Look for secondary punctures.
- Assess the tyre itself: Deep cuts might mean a replacement is imminent.
Also, see if the tyre valves and caps are intact. This meticulous step saves future troubles, ensuring that the tyre isn't the only part that needs attention. If you spot major damage at this stage, consider contacting a local bike service, which you can easily find using Bikebook’s directory of rated mechanics.
Pro-Tip: A wrap of duct tape wrapped around the tyre’s inner surface can temporarily fix weak spots when you're caught off guard mid-ride.
2. The Quick Fix: Essentials for Repairing a Flat Tyre Fast
2.1 Tools You’ll Need
When dealing with a flat tyre swiftly, having the right tools at hand is essential. Forgetting even a single item could turn a quick fix into a lengthy ordeal. To keep things straightforward, prepare a compact kit that you can easily store in your vehicle or carry with you. Here's what you absolutely need:
- Tyre Levers: These help in prying the tyre off the rim easily. Some levers come with a clip to hang onto the spokes, giving you more leverage.
- Repair Kit with Patches and Glue: These kits usually include patches that seal punctures and a small tube of adhesive.
- Mini Pump or CO2 Inflator: A portable pump is vital to reinflate the tyre, but if speed is of the essence, a CO2 inflator can be a quick solution.
- Multi-tool: Having a multi-tool can assist you in removing any screws or nuts quickly, especially if they are tightly fitted.
Many cyclists bring an extra spare inner tube. It allows a quick swap rather than struggling to patch in tricky places. Consider aligning your tools with these expert suggestions the next time you hit the road.
Pro Tip: Always double-check your toolkit after usage to ensure everything is intact. Losing a tool on your ride could mean you're unprepared next time.
2.2 Step-by-Step Guide to Removing the Tyre
The quicker you can get the tyre off, the faster you can repair or replace it. Here's a streamlined process:
- Deflate the Tyre: If there's still air, completely deflate the tyre to make it easier to remove.
- Use Tyre Levers: Insert the first lever between the tyre and the rim. Push down to pry the tyre bead over the rim. Use additional levers, about a hand’s width apart, to work the tyre off the rim gradually.
- Remove One Side of the Tyre Completely: This gives you access to the inner tube without having to battle the full circumference.
Ensure that the tube is fully out after this step. Tug gently but firmly, and avoid using excessive force which could damage both tube and tyre.
Pro Tip: If you're new to tyre changes, practice this procedure at home first to minimise stress during an actual roadside emergency.
2.3 Applying a Patch or Using a Quick Inflate Solution
Once the tyre is off, it's time to decide between patching the tube or using a quick inflate solution. Both have their advantages, but each suits different scenarios.
- Applying a Patch:
- Identify the Leak: Inflate the tube slightly and listen for air escaping to find the puncture.
- Buffing: Use sandpaper from your kit to rough up an area around the puncture for better adhesion.
- Apply Adhesive and Patch: Coat the area with a thin layer of adhesive, wait a few minutes until it’s tacky, then press the patch firmly onto the area.
- Quick Inflate Solutions: Ideal for small punctures where you're pressed for time. These solutions seal the hole while inflating the tube. Simply attach the CO2 cartridge, release the gas, and you're good to go.
These solutions can vary in effectiveness, with patches often providing a more reliable seal. Always have backup options available in case one method doesn't quite work out as expected.
Pro Tip: Even when using a quick inflate solution, realise it’s a temporary fix. A proper patch or tube replacement should follow when more time allows.
3. When You Need More Help: Finding a Quick Bike Service with Bikebook
3.1 Why Choose a Professional Service?
When you're faced with a flat tyre, the idea of quickly fixing it on your own might seem appealing. However, sometimes it's worth considering professional assistance. A skilled bike mechanic offers experience and expertise:
- Detailed Inspection: They can spot not just the current flat but other potential issues.
- Efficient Repairs: Enjoy the benefits of a properly repaired tyre that lasts longer.
- Safety Assurance: Ensures that any repair work complies with safety standards.
Neglecting a professional service can risk incorrect repairs, leading to frequent flats or even damaging the rim. Hiring a professional saves time and potential future costs. With Bikebook, it's easier than ever to locate a trusted expert near you.
Pro-tip: Regular checks by professionals can prevent future problems. They can advise on maintenance routines tailored to your bike's specific needs.
3.2 How to Find a Fast Bike Service Near You with Bikebook
Looking for a quick and reliable mechanic? Bikebook simplifies the process with its intuitive platform. Here's how you can use it:
- Start your search by entering your postcode on their website.
- Browse through a list of nearby mechanics, filtering by service type.
- Read reviews to make an informed decision based on others’ experiences.
- Select a mechanic and make a booking with optional extras if needed.
This service cuts down the time you'd typically spend on endless searches. Bikebook ensures you quickly find local experts, who are already vetted, taking the stress out of the situation. Even in emergencies, easily locating a mechanic reduces downtime so you can get back on the road swiftly.
Pro-tip: Always check the service options if a mobile mechanic is available. This can save you the hassle of transporting your bike.
3.3 Preparing Your Bike for the Mechanic: What You Need to Know
Before handing over your bike to the mechanic, a few preparations can help streamline the repair process. Keep these in mind:
- Identify all issues: Make note of any other problems, like chain noises or brake issues.
- Remove accessories: If removable, items like panniers or baskets should be taken off.
- Clean the bike: A clean bike makes it easier for the mechanic to work efficiently.
- Document specifications: Having the details about your bike model and any previous service records ready can be helpful.
Preparation not only saves time but ensures mechanics can focus on what truly matters—repairing your bike. This approach can lead to quicker turnaround and often results in a more accurate service. Remember, a well-prepared bike is more likely to receive quicker and effective repairs.
Pro-tip: Keep a checklist of these preparations on your phone for easy access whenever you need a mechanic.
Addressing a flat tyre swiftly and correctly retains your cycling plans intact without unnecessary hitches. Following a proper procedure, whether through DIY methods or professional help like Bikebook, guarantees you're back in action promptly. For those times when a quick solution isn't enough or expertise is required, make use of local professionals to ensure long-lasting repairs. *Discover ways to keep your bike in peak condition using Bikebook's services.
Frequently Asked Questions
What is the quickest way to repair a flat tyre?
The fastest way to fix a flat tyre is using a quick inflate solution or sealant. It plugs the hole and inflates the tyre temporarily, allowing you to resume riding in minutes. This is a temporary fix, best used only to get to a repair shop.
Can I drive 5 minutes with a flat tyre?
Driving with a flat tyre, even for short distances, is risky. It can cause:
- Rim damage
- Loss of vehicle control
- Increased repair costs
- Compromised tyre structure
- Safety hazards
How to Fix-a-Flat tyre by yourself?
Here's a quick DIY method:
- Identify and mark the puncture.
- Use a tyre repair kit or sealant to plug the hole.
- Reinflate the tyre using a pump.
- Check for leaks before proceeding.
What is the best solution for a flat tyre?
For a permanent solution, consult a professional mechanic for a thorough repair or replacement. Best options include:
- Patching the inner tube for minor punctures.
- Replacing the tube if the puncture is extensive.
- Professional assessment for damage beyond repair.


'%3e%3cg id='Final-Copy-2_2_' transform='translate(1275.000000, 200.000000)'%3e%3cpath class='st0' d='M7.4,12.8h6.8l3.1-11.6H7.4C4.2,1.2,1.6,3.8,1.6,7S4.2,12.8,7.4,12.8z'/%3e%3c/g%3e%3c/g%3e%3c/g%3e%3cg id='final---dec.11-2020'%3e%3cg id='_x30_208-our-toggle' transform='translate(-1275.000000, -200.000000)'%3e%3cg id='Final-Copy-2' transform='translate(1275.000000, 200.000000)'%3e%3cpath class='st1' d='M22.6,0H7.4c-3.9,0-7,3.1-7,7s3.1,7,7,7h15.2c3.9,0,7-3.1,7-7S26.4,0,22.6,0z M1.6,7c0-3.2,2.6-5.8,5.8-5.8 h9.9l-3.1,11.6H7.4C4.2,12.8,1.6,10.2,1.6,7z'/%3e%3cpath id='x' class='st2' d='M24.6,4c0.2,0.2,0.2,0.6,0,0.8l0,0L22.5,7l2.2,2.2c0.2,0.2,0.2,0.6,0,0.8c-0.2,0.2-0.6,0.2-0.8,0 l0,0l-2.2-2.2L19.5,10c-0.2,0.2-0.6,0.2-0.8,0c-0.2-0.2-0.2-0.6,0-0.8l0,0L20.8,7l-2.2-2.2c-0.2-0.2-0.2-0.6,0-0.8 c0.2-0.2,0.6-0.2,0.8,0l0,0l2.2,2.2L23.8,4C24,3.8,24.4,3.8,24.6,4z'/%3e%3cpath id='y' class='st3' d='M12.7,4.1c0.2,0.2,0.3,0.6,0.1,0.8l0,0L8.6,9.8C8.5,9.9,8.4,10,8.3,10c-0.2,0.1-0.5,0.1-0.7-0.1l0,0 L5.4,7.7c-0.2-0.2-0.2-0.6,0-0.8c0.2-0.2,0.6-0.2,0.8,0l0,0L8,8.6l3.8-4.5C12,3.9,12.4,3.9,12.7,4.1z'/%3e%3c/g%3e%3c/g%3e%3c/g%3e%3c/g%3e%3c/svg%3e) Your Privacy Choices
Your Privacy Choices